Production / record video for background removal
How to record video that AI can cut out cleanly
A field guide to lighting, wardrobe, camera settings, motion, and framing for cleaner AI video background removal.
The useful answer
Aim for separation, not a studio look: soft front light, visible edges, controlled motion, and an original file with enough detail to preserve hair and hands.
Remove a video backgroundDecision map
From source clip to useful output
Define the destination
Decide where “record video for background removal” must work before choosing a format or background.
Protect the moving edge
Review hair, hands, motion blur, and every place the subject crosses another object.
Test the real delivery
Open the result in the actual browser, editor, presentation, or social workflow.
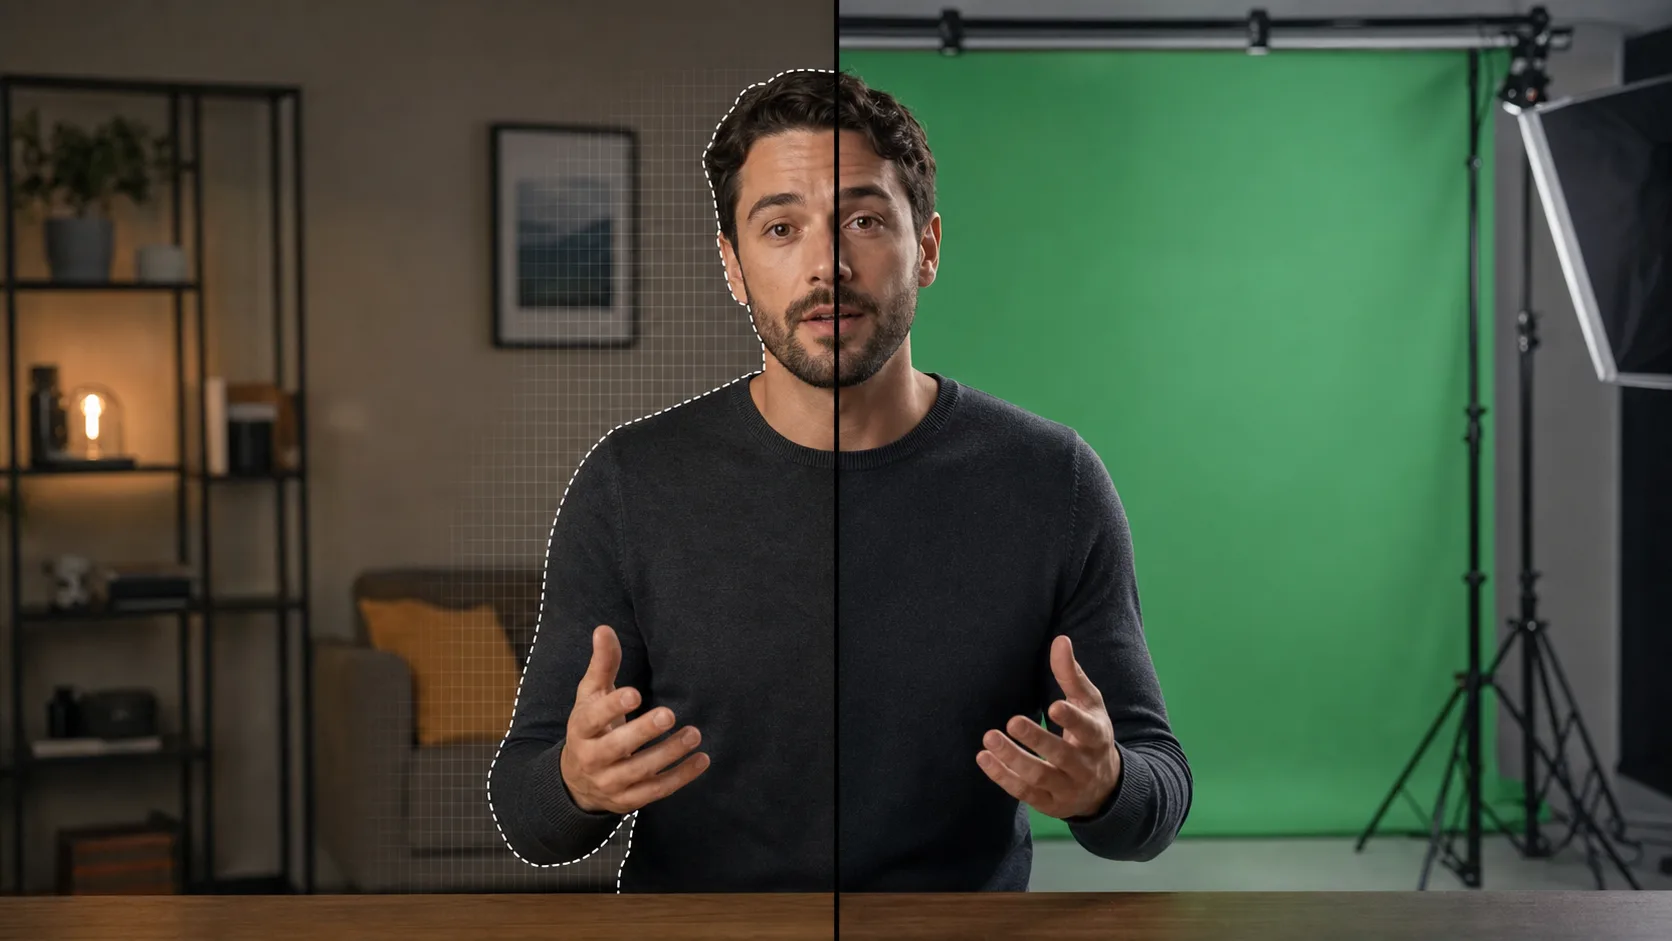
AI background removal is forgiving about the room and strict about the boundary. It does not care whether the wall is beautiful. It cares whether the outline of your hair, shoulders, hands, and clothes remains visible from one frame to the next.
That changes how you should prepare a shoot. Instead of building a perfect set, spend your effort on separation, light, focus, and motion. The following setup works for course creators, sales teams, presenters, podcasters, and anyone recording a talking-head clip at home.
Start with separation
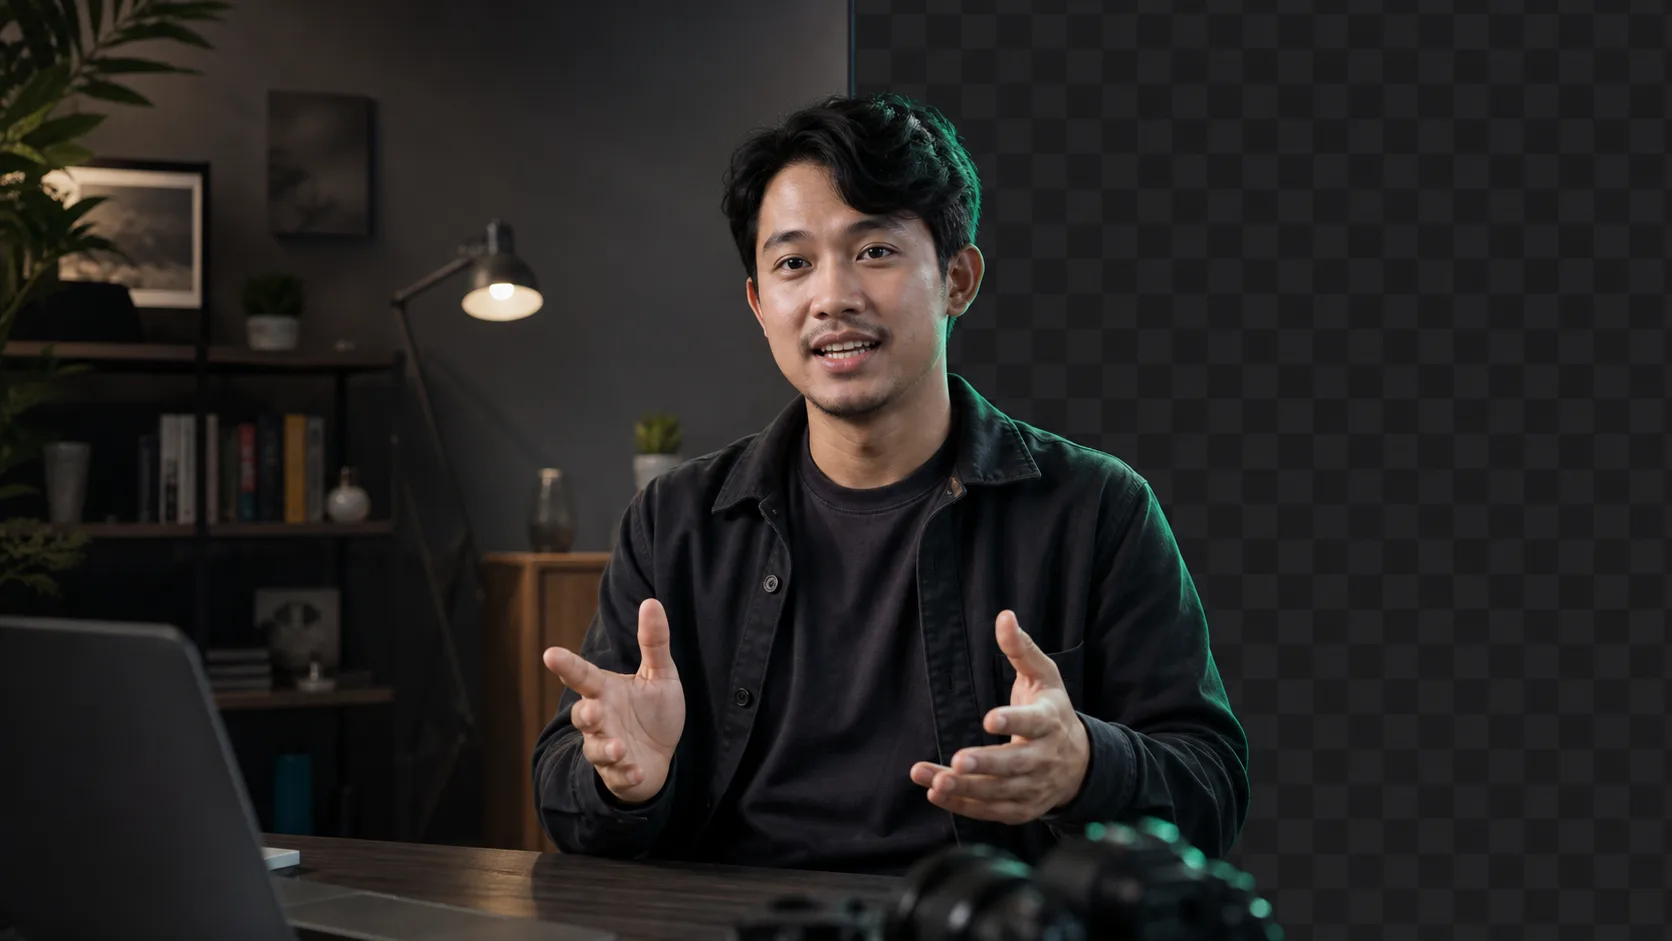
Separation means the subject is visually distinct from what sits behind them. Colour contrast helps, but brightness and texture matter too. A black shirt can separate well from a dark wall if a soft rim of light defines the shoulders. A white shirt can still disappear against a bright window when both are overexposed.
- Move at least an arm's length away from the wall when space allows. This reduces hard shadows and throws the background slightly out of focus.
- Avoid matching the dominant background colour with your shirt, hat, or chair.
- Keep hair from blending into an unlit corner. A lamp behind and to the side can create a subtle edge without looking theatrical.
- Remove background objects that intersect the outline, especially plants, lamp arms, and chair backs near the shoulders.
Use one large, soft light before adding more
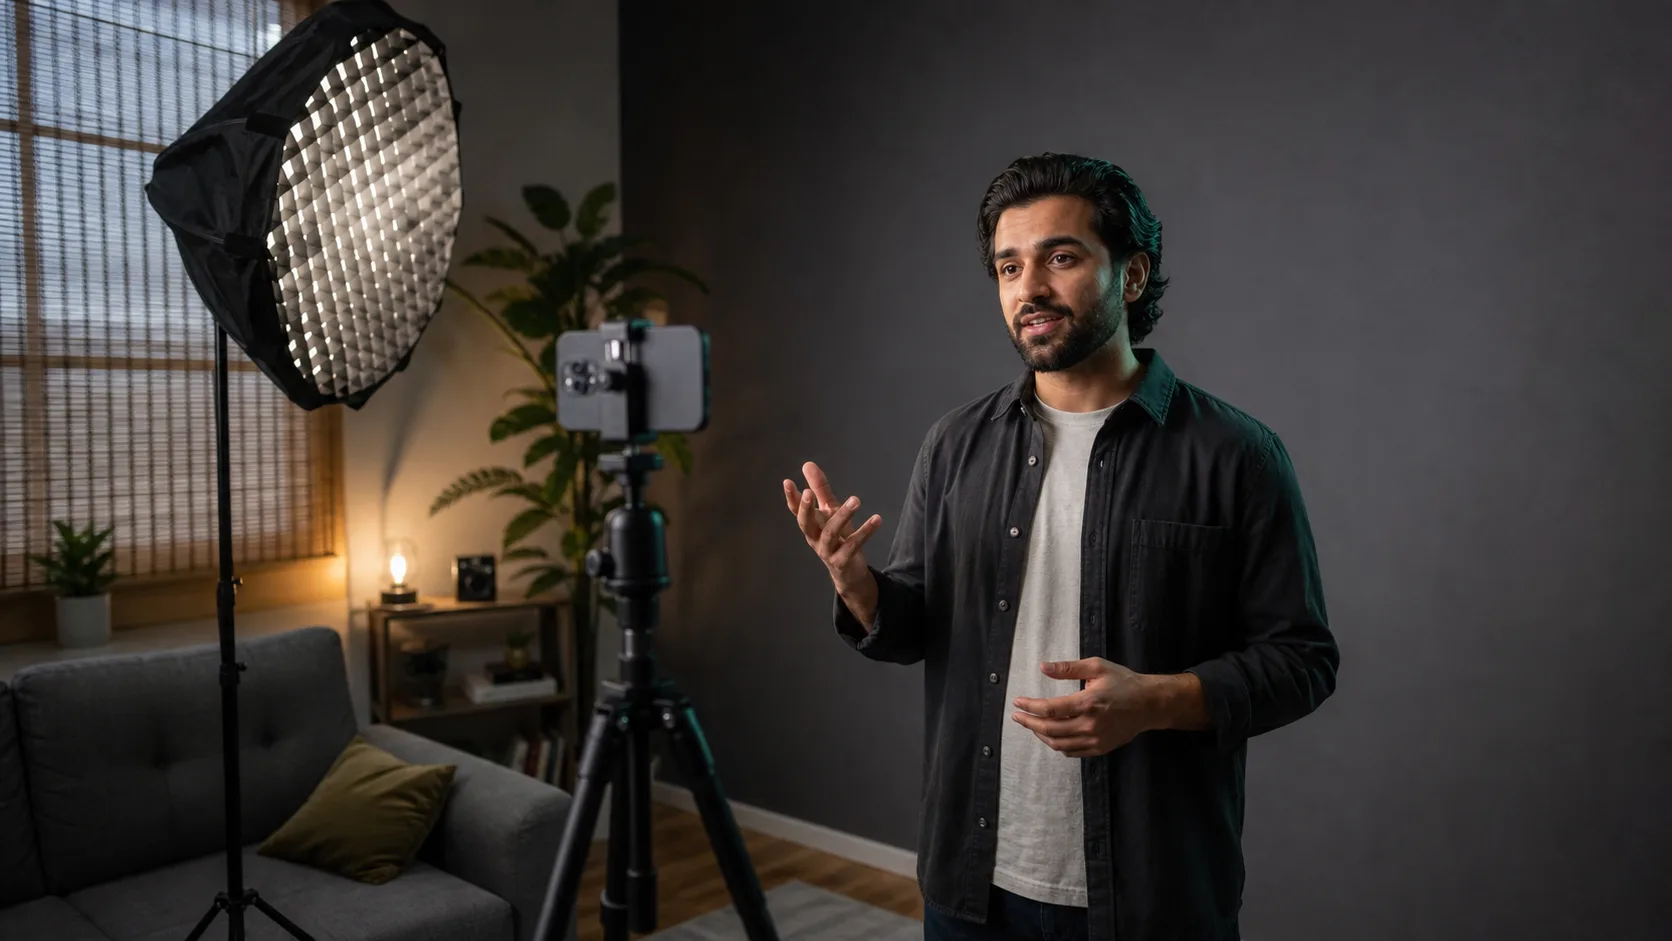
Place a window, softbox, or diffused lamp in front of you and slightly above eye level. Large light sources create gradual shadows, which preserve facial shape without crushing the edges into darkness. If one side of the face is too dark, bounce light from a white wall or board rather than pointing a harsh lamp directly at it.
Choose camera settings that protect edges
Use the rear camera on a phone when convenient, lock focus on the face, and avoid digital zoom. Record at 1080p or higher when the device and workflow support it. Resolution gives the model more samples along fine boundaries, although good light and focus still matter more than a large pixel count.
- Frame rate: 24 or 30 fps works for most talking-head footage. Use 50 or 60 fps only when fast movement or slow motion justifies the larger file.
- Shutter: avoid very long exposures that smear hands. More light lets the camera use a shorter exposure automatically.
- Focus: lock it when the camera keeps hunting between your face and the room.
- Stability: use a tripod, shelf, or firm laptop stand. Electronic stabilization cannot repair every bump and may warp the frame edges.
- Compression: keep the camera original. Sending the clip through a chat app before processing can add block noise around the subject.
Frame for the final composition
Leave room around gestures and hair. If a hand exits the frame, the model cannot reconstruct it later. For a website presenter, record wider than the final crop so the designer can position the subject on either side. For vertical social video, compose in vertical from the start or use a high-resolution horizontal source with enough room to crop.
- 01
Set the delivery shape
Decide whether the final video is 16:9, 9:16, square, or a freeform transparent overlay.
- 02
Mark the movement zone
Wave, point, and lean as you will during the real take. Make sure every gesture stays inside the frame.
- 03
Record a ten-second stress test
Turn your head, move both hands, and cross one arm in front of your body.
- 04
Check the original at full size
Look for blurred fingers, clipped highlights, missed focus, and blocky shadows before recording the full script.
Wardrobe choices that save edge detail
Solid mid-tone clothing is the easiest starting point. Very fine stripes can create moiré. Reflective sequins, loose fringe, and translucent fabric create complex moving boundaries. They can still work, but test them first. Glasses are usually fine when the lenses are clean and the key light is positioned away from a direct reflection.
What to do about hair
Fine hair contains partly transparent pixels even in a perfect photograph. Do not expect every strand to become a hard, sticker-like edge. Light hair against a bright background and dark hair against a black background both reduce useful contrast. Change the background tone, add a gentle edge light, and avoid over-sharpening in the camera.
A two-minute preflight checklist
- Clean the lens and lock the camera position.
- Turn on the main light and reduce strong backlight.
- Check contrast around hair, shoulders, and the chair.
- Record a gesture test in the final frame shape.
- Play it once for focus and once for motion blur.
- Keep the original file until the final background has been approved.
Sources and further reading
Quality gate
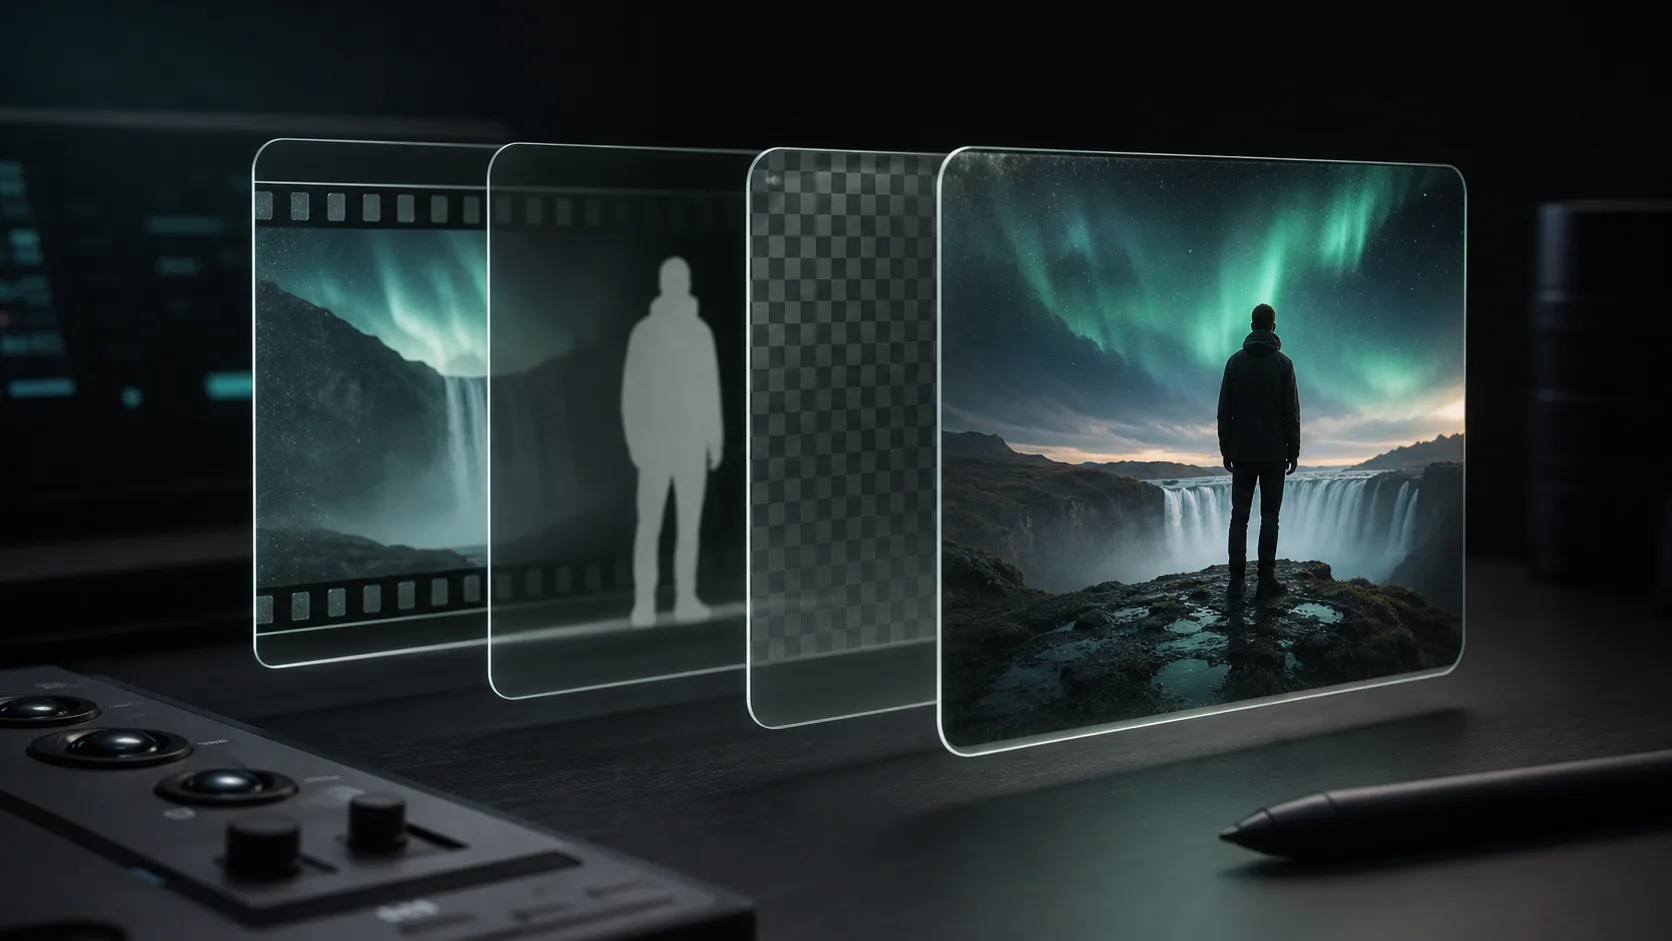
Three surfaces reveal different edge problems
Light background
Look for dark contamination, clipped hair, and hard matte boundaries.
Dark background
Look for pale halos, spill, and semitransparent noise around motion.
Final destination
Confirm playback, dimensions, compression, and transparency where viewers will see it.
Try it on a difficult ten seconds
Upload a clip with hair movement and a hand gesture. Backdrop gives you the first 60 seconds free, so you can judge the cut-out before committing the full video.
Remove a video background