Workflow / use alpha matte video
How to use an alpha matte in Premiere Pro, After Effects, and DaVinci Resolve
Use a grayscale alpha matte to composite a person in major video editors while preserving control over edge cleanup and replacement backgrounds.
The useful answer
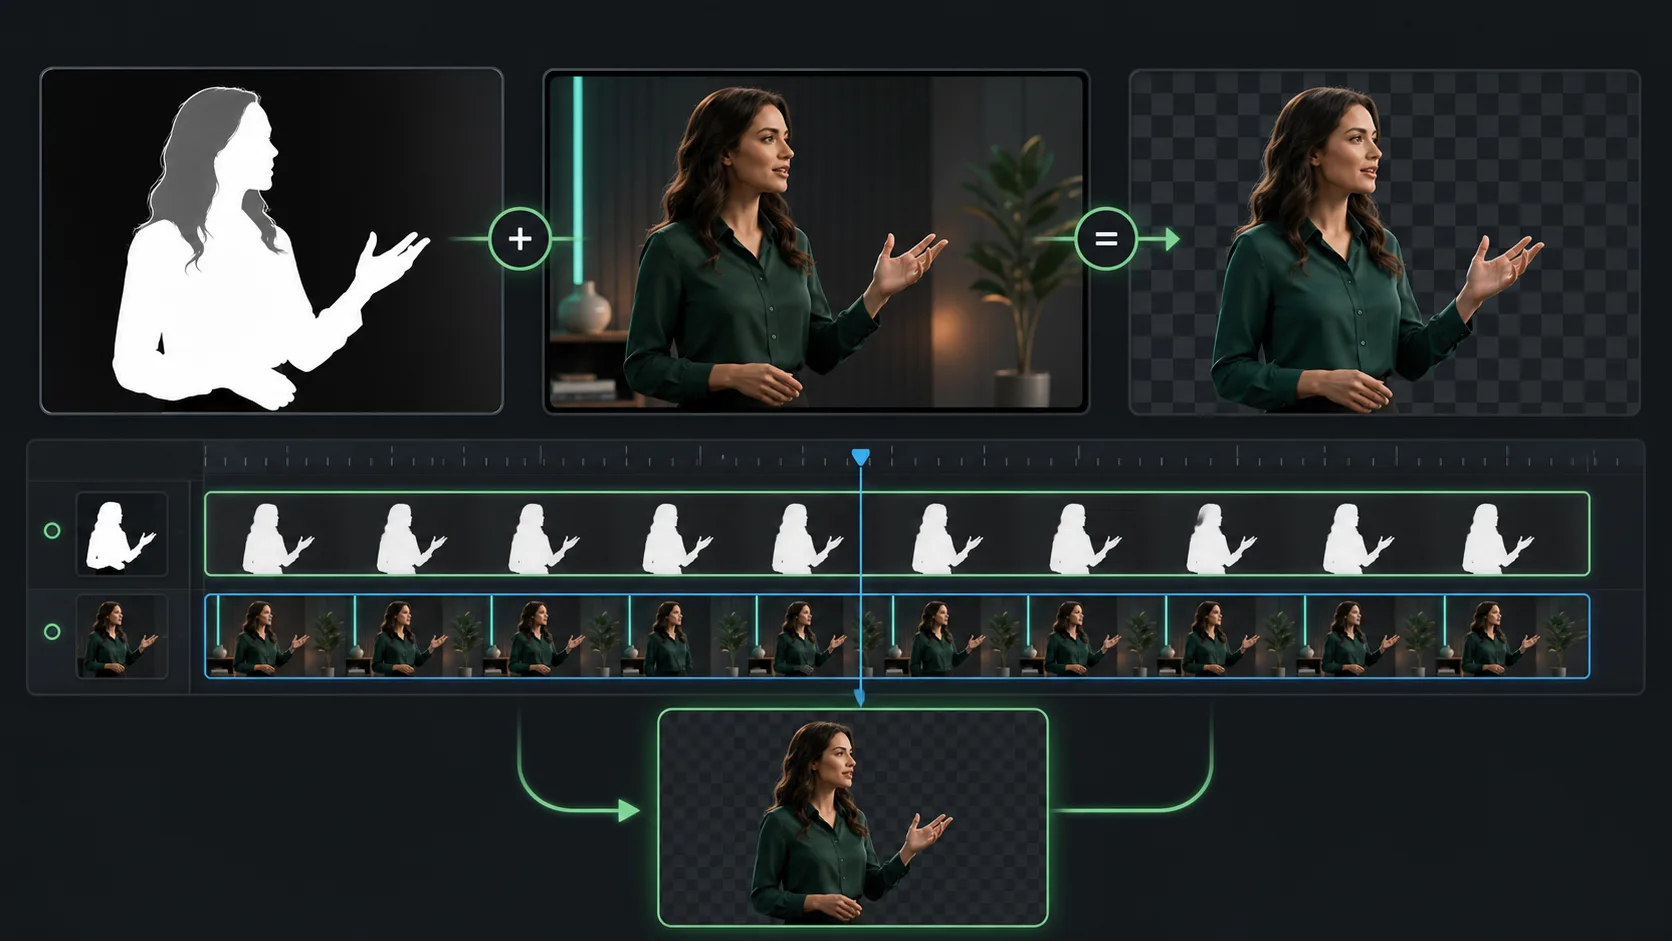
Keep the color clip and grayscale matte synchronized, use the matte's luminance as transparency, invert only when necessary, and perform edge cleanup on the matte before final color correction.
Generate an alpha matteDecision map
From source clip to useful output
Define the destination
Decide where “use alpha matte video” must work before choosing a format or background.
Protect the moving edge
Review hair, hands, motion blur, and every place the subject crosses another object.
Test the real delivery
Open the result in the actual browser, editor, presentation, or social workflow.
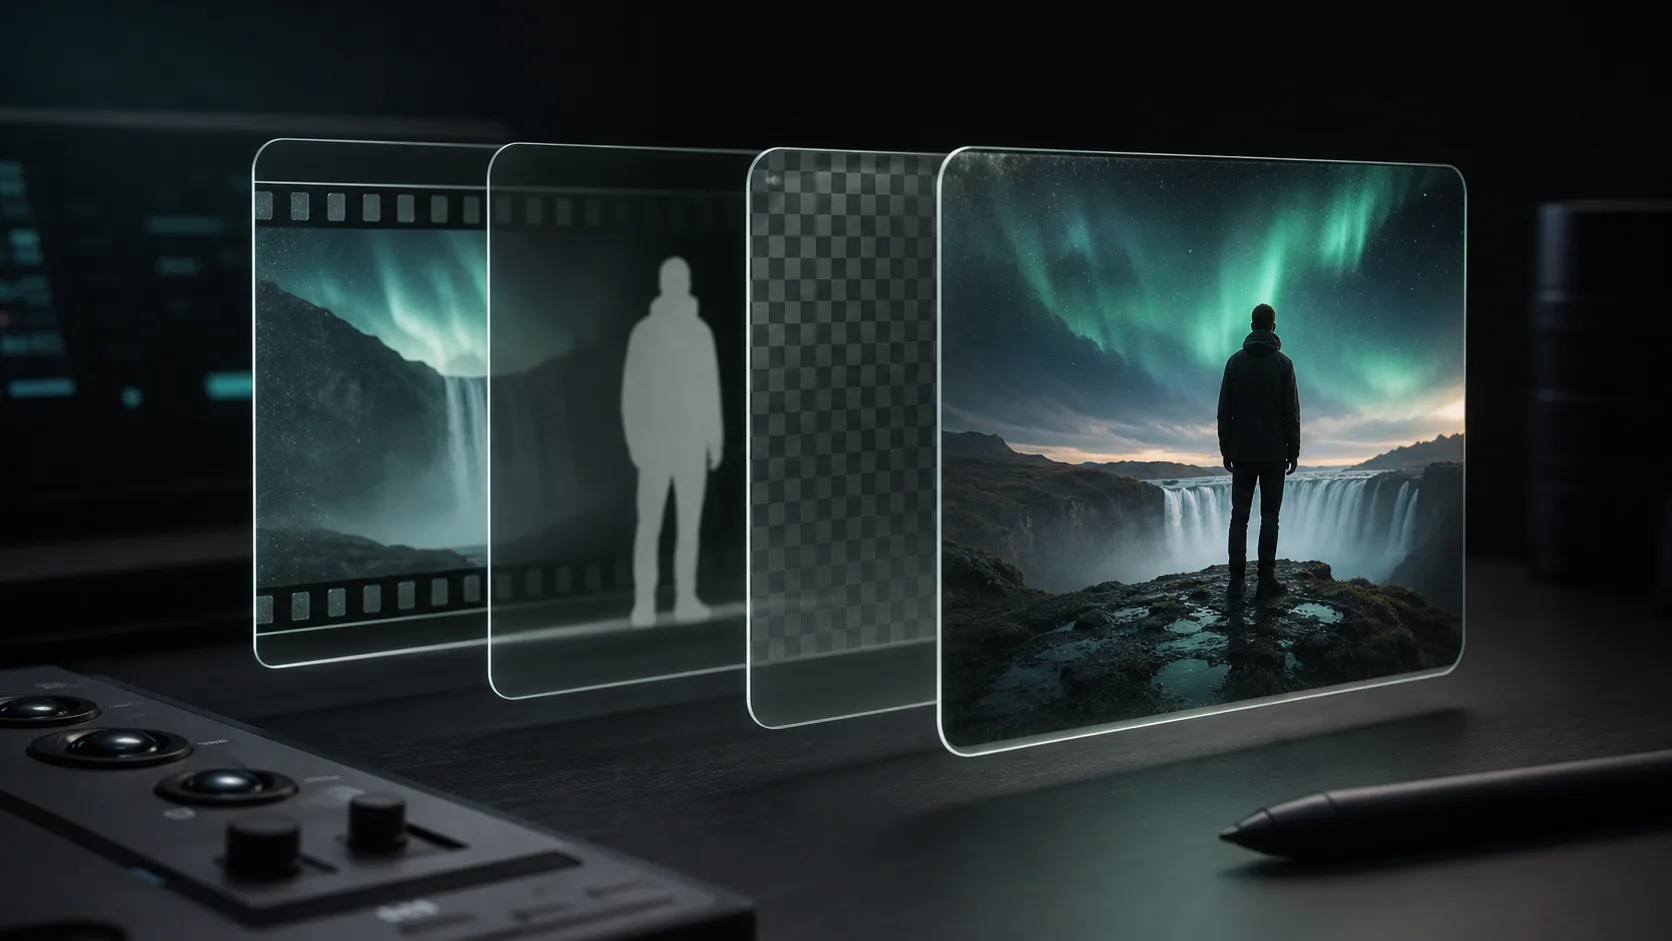
An alpha matte is a grayscale video where white keeps the subject, black removes the background, and gray creates partial transparency. It travels separately from the color clip, which makes the workflow slightly more involved but gives the compositor direct access to the moving mask.
Prepare the two files
- Confirm the color clip and matte have identical duration, frame rate, resolution, and starting frame.
- Place them on synchronized tracks and disable accidental slipping or speed changes.
- Check whether white represents the subject. If the result is reversed, invert the matte once.
- Keep color correction separate from matte correction so contrast changes do not damage the visible subject.
Premiere Pro: use a Track Matte Key
- 01
Stack the layers
Place the replacement background at the bottom, the color clip above it, and the matte on another video track.
- 02
Apply Track Matte Key
Apply the effect to the color clip and select the track containing the matte.
- 03
Use matte luminance
Choose a luminance matte when the mask is stored as black, white, and gray video.
- 04
Hide the visible matte
The effect reads the matte track even though viewers should see only the composite.
After Effects: pair the layer with a luma matte
Place the matte and color clip in the same composition, align their in points, and choose the matte layer as a Luma Matte for the color layer. Use Luma Inverted Matte when the values are reversed. Precompose the pair if the combination must be transformed or reused as one unit.
DaVinci Resolve: route the matte to the alpha input
In Resolve, the exact UI depends on whether you work in Edit, Color, or Fusion. The core operation remains the same: feed the grayscale matte into the alpha or mask input controlling the color clip. In Fusion, a Bitmap or MediaIn mask can drive the foreground merge. In Color, use an external matte or alpha output according to the current Resolve manual.
Refine the matte before the grade
- Use small black and white level adjustments to clarify uncertain interior and exterior regions.
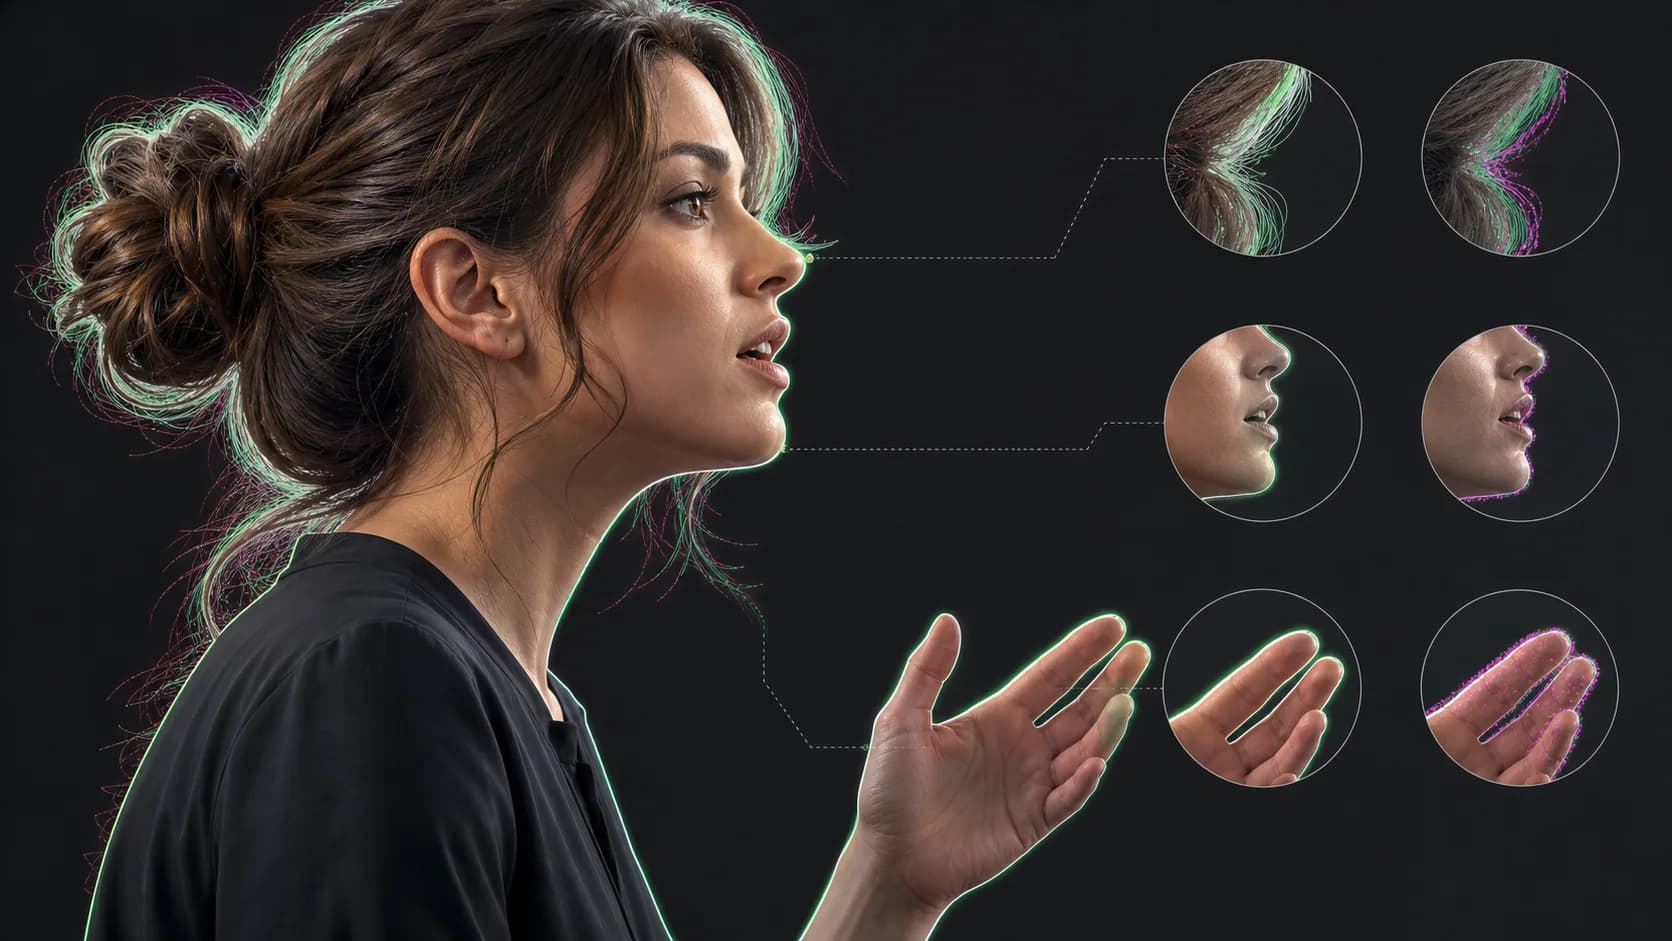
- Apply minimal choke or erode controls and watch fingers, ears, and loose hair.
- Use temporal smoothing carefully to reduce flicker without creating a delayed edge.
- Remove original-background color from semi-transparent edges before matching the new scene.
Export the finished result
If editing is complete, render the replacement background into a standard delivery file. If another compositor needs control, export an alpha-capable intermediate or preserve the color-and-matte pair. Label both files clearly and keep their timecode or frame numbering aligned.
Sources and further reading
Frequently asked questions
What is the difference between an alpha matte and transparent video?
Transparent video stores color and alpha together. A separate matte stores only the moving grayscale transparency map, giving the editor more direct control.
Should the subject be white or black in an alpha matte?
White commonly represents visible foreground and black represents transparent background. Invert the matte if your editor or exported file uses the opposite convention.
Why does my matte not line up with the video?
The color and matte were likely trimmed, scaled, stabilized, retimed, or converted differently. Their frame rate, duration, resolution, and transformations must match.
Quality gate
Three surfaces reveal different edge problems
Light background
Look for dark contamination, clipped hair, and hard matte boundaries.
Dark background
Look for pale halos, spill, and semitransparent noise around motion.
Final destination
Confirm playback, dimensions, compression, and transparency where viewers will see it.
Create a matte you can refine
Export the moving mask separately when a high-value composite needs more edge control than a single transparent file provides.
Generate an alpha matte